


Bearing Sleeve Blue
- Brand: Mortch Motor
- Product Code: MICF0800-0111D0
- Product Viewed: 4582
- Availability: In Stock
- Weight: 0.21kg
US$30.01 1 SOLD
-
- 20 or more US$20.00
| Shipping To: |
CFMoto Bearing Sleeve Set (Red/Blue Sets)
OEM Part Numbers: Red Set / Blue Set
Kit Contents: 4 Blue + 4 Red Bearing Shells
Fits CFMoto 800cc / 1000cc Multiple Models (2V91W / 2V91Y Engines)
Width: 23mm | Select by Mark "A" (Red Thin) or Mark "B" (Blue Thick)
This is a genuine quality bearing sleeve set (crankshaft main bearing insert) for CFMoto, used for precision fit in the engine crankcase main bearing journals. Available in two specifications, the kit includes 4 Blue + 4 Red bearing shells:
🔴 Red Set (Thin)
0800-011103-0001 / 0JWA-011103-00010 (Upper)
0800-011102-0001 / 0JWA-011102-00010 (Lower)
New Part: 0800-0111A0 (Red)
🔵 Blue Set (Thick)
0800-011103-0002 / 0JWA-011103-00020 (Upper)
0800-011102-0002 / 0JWA-011102-00020 (Lower)
New Part: 0800-0111B0 (Blue)
Uniform Width: 23mm
Selection Guide: If your LH/RH crankcase is marked "A", use the Red (thin) bearing sleeve; if marked "B", use the Blue (thick) bearing sleeve.
✨ OEM Quality: Strictly manufactured to CFMoto original standards, with precise thickness tolerance to ensure optimal clearance with the crankshaft main journals. Each set includes the required number of bearing shells (upper and lower).
Red Set (Thin):
Part Numbers: 0800-011103-0001 / 0JWA-011103-00010 (Upper)
0800-011102-0001 / 0JWA-011102-00010 (Lower)
New Part: 0800-0111A0
Blue Set (Thick):
Part Numbers: 0800-011103-0002 / 0JWA-011103-00020 (Upper)
0800-011102-0002 / 0JWA-011102-00020 (Lower)
New Part: 0800-0111B0
🔍 How to Select the Correct Size:
Check the marking on your LH/RH crankcase:
- Mark "A" → Use Red (Thin) Bearing Sleeve (0800-0111A0)
- Mark "B" → Use Blue (Thick) Bearing Sleeve (0800-0111B0)
If the marking is worn or illegible, measure the old bearing sleeve thickness or contact support.
- ATV CForce 1000 Series: CF1000ATR (2018-2024), CF1000AU (2018-2025), CF1000AU-F (2020-2025), CF1000AZ (2022-2024)
- SSV ZForce Series: CF1000US (2016-2022), CF1000US-A (2020-2022), CF1000US-2 (2016-2022), CF1000UTR (2017-2026), CF1000UTR-B (2020-2022), CF1000UTR-C (2022-2025), CF1000SU (2022-2025), CF1000SZ (2022-2026), CF1000STR (2024-2026)
- UTV UForce Series: CF1000UU (2018-2025), CF1000UU-2 (2022-2025), CF1000UTR-3 (2018-2026), CF1000UTR-5 (2022-2026), CF1000UZ (2022-2026), CF1000UZ-2 (2022-2026), CM1000UZ (2024-2025), CM1000UZ-2A (2024)
- Police Models: CF1000US-J (2021-2022)
- ATV Series: CF800-2 X8 (2011-2019), CF800ATR (2016-2025), CF800ATR-2 (2016-2019), CF800ATR-3 (2017-2025), CF800AU-2A (2017-2025), CF800AU-2AF (2021-2025), CF800AU-2B (2016-2019), CF800AZ-2A (2022-2024)
- SSV ZForce Series: CF800 (2012-2022), CF800US-A (2013-2022), CF800UTR (2017-2020), CF800SZ-2 (2022-2026), CF800SZ-3 (2025-2026), CF800SU-2 (2022-2025), CF800SU-3 (2025-2026)
- UTV UForce Series: CF800-3 (2012-2022), CF800UTR-2 (2017-2022), CF800UU-A (2014-2025)
📌 Compatibility Note: This bearing sleeve set fits the 2V91W and 2V91Y engine series listed above, covering CFMoto 800cc and 1000cc multiple ATV, UTV and SSV models. Year ranges have been consolidated. Please ensure you select the correct size based on the marking "A" or "B" on your crankcase (Red thin or Blue thick). If in doubt, provide your engine model or crankcase marking for verification.
- Direct OEM Replacement: Exactly matches CFMoto original part numbers, available in Red (thin) and Blue (thick) specifications.
- Precise Thickness Tolerance: Two thickness options (Red thin, Blue thick) ensure optimal clearance with the crankshaft main journals.
- High-Quality Alloy Material: Made from high-strength wear-resistant alloy with special surface treatment, providing excellent anti-fatigue and friction-reducing properties.
- Accurate Positioning: Standard width 23mm with locating tang, ensuring correct orientation and preventing rotation during operation.
- Supplied as a Set: Each set includes 4 Blue and 4 Red bearing shells to ensure matching consistency.
Follow these steps to install the bearing sleeves and ensure proper crankshaft bearing clearance. This procedure requires specialized tools and skills — professional installation is highly recommended.
🔧 Pre-Installation Preparation
- Select the correct bearing shells based on crankcase marking "A" (Red thin) or "B" (Blue thick).
- Prepare Plastigage, torque wrench, clean rags, and engine oil.
- Thoroughly clean the crankshaft journals and bearing housings — ensure no oil, debris, or burrs.
🧽 Step 1: Install the Bearing Shells
- Confirm correct orientation — the locating tang should face the bearing housing notch.
- Install the upper shell into the main bearing cap, ensuring the tang is properly seated.
- Install the lower shell into the crankcase bearing housing, with the tang correctly positioned.
- Apply a small amount of clean engine oil to the bearing inner surface for lubrication.
- Carefully place the crankshaft into the bearing housing, taking care not to damage the bearing surfaces.
📏 Step 2: Check Bearing Clearance
- Clean the crankshaft journal and bearing surface.
- Place a piece of Plastigage on the journal, parallel to the shaft axis.
- Install the main bearing cap and torque bolts to factory specification (refer to your service manual).
- Carefully remove the main bearing cap and measure the flattened Plastigage width using the scale provided.
- Confirm the clearance falls within the specification range in your service manual. If not, verify bearing selection.
✅ Step 3: Final Assembly
- After confirming proper clearance, apply clean engine oil to the bearing surfaces and journal.
- Install the main bearing cap and torque bolts to factory specification in the correct sequence (typically diagonal).
- Manually rotate the crankshaft to confirm smooth rotation with no binding.
- Install remaining engine components to complete assembly.
💡 Installation Key Points
- Select the correct bearing thickness (Red thin or Blue thick) based on crankcase marking before installation.
- Keep bearing surfaces and journals absolutely clean — any contamination will affect clearance and lifespan.
- Use Plastigage to verify bearing clearance meets specifications.
- Use a torque wrench and tighten bolts in diagonal sequence to specified torque.
- After installation, manually rotate the crankshaft to confirm smooth rotation with no binding.
- If you are not experienced with engine assembly, we strongly recommend professional installation.
- Please verify that this part fits your specific vehicle model and year. Many vehicles share similar names but use different components depending on year or market region.
- We strongly recommend cross-checking with your vehicle's owner's manual or contacting us for confirmation before placing your order.
- Product images, measurements, and descriptions are for reference only. Slight variations in color or appearance may occur due to manufacturing batches or photography lighting—functional specifications remain identical to the ordered part.
- Professional installation is mandatory. Mortch Motor assumes no liability for damages, injuries, or losses resulting from improper installation, misuse, unauthorized modification, or abnormal operation.
- All listed prices EXCLUDE shipping costs, import duties, taxes, and customs clearance fees. These charges (if applicable) are determined and collected by your local customs authority and are solely the buyer's responsibility.
- In case of return due to unpaid duties/taxes or refusal to clear customs, the buyer shall bear the original shipping cost, return shipping fees, and any associated administrative charges deducted from the refund.
 Thank You
 Please tell your friends about our Bearing Sleeve Blue
Related Products

Oil Dip Rod
MICF0110-013001
CFMoto Engine Oil Dipstick | w/ Linhai & CFMoto Cross-ReferenceReplaces OEM: 0110-013001 / 172MM..
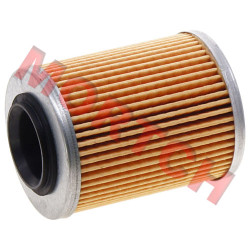
Oil Filter
MICF0800-011300-0004
CFMoto Engine Oil Filter | w/ Linhai Cross-ReferenceOEM: 0800-011300 / 0800-011300-0004 | Linhai: 38..
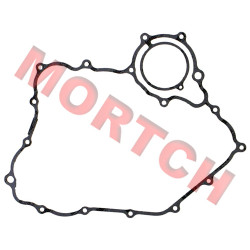
Left Crankcase Cover Gasket
MICF0800-011002
CFMoto Left Crankcase Cover Gasket Part Number: 0800-011002 Product Type: Left Crankcase Cover..
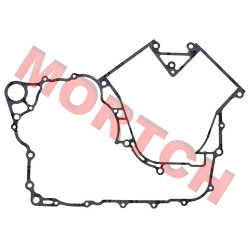
Crankcase Gasket
MICF0800-011001-10000
CFMoto Crankcase Gasket Part Number: 0800-011001 Product Type: Crankcase Gasket | Engine Seali..
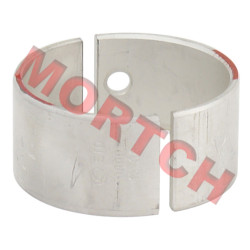
Bearing Sleeve, Red
MICF0800-0111A0
CFMoto Bearing Sleeve (Blue) | w/ Linhai Cross-Reference Width: 23mm | Select color based on cran..
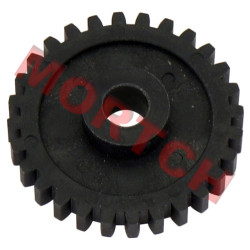
Breather Idle Gear
MICF0800-011004
CFMoto Breather Idle Gear - Plastic Part Number: 0800-011004 Product Type: Engine ..
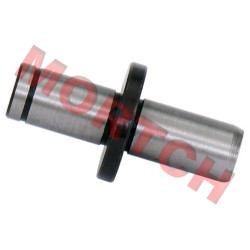
Breather Idle Gear Shaft
MICF0800-011104
CFMoto Breather Idle Gear Shaft Part Number: 0800-011104 Product Type: Breather Id..
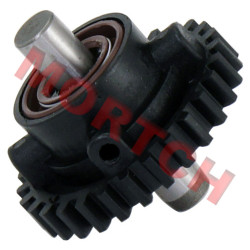
Breather Assy
MICF0800-011200
CFMoto Breather Assembly - Plastic Part Number: 0800-011200 Product Type: Engine Breather Syst..
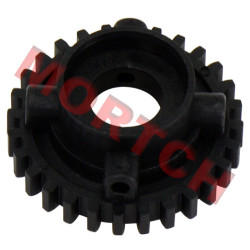
Breather Gear
MICF0800-011201
CFMoto Breather Gear Part Number: 0800-011201 Product Type: Breather Gear | Engine..
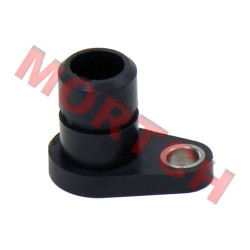
Seal Plug
MICF0130-011400
CFMoto Seal Plug (Plastic) Part Number: 0130-011400 (Old: 172MM-B-011400) Product ..

Dowel Pin, Φ10 x 14
MICF0010-021005
CFMoto Dowel Pin 10×14mm OEM Part Number 0010-021005 (Old P/N: 152MI-021005) 📦 Pack of 5 Di..
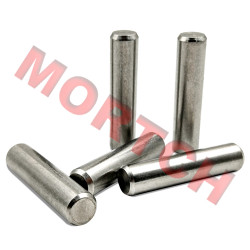
Needle Pin P5 x 11.8
MICF30406-00500
CF Moto Needle Pin P 5 x 11.8 OEM Part Number: 30406-00500 Specifications: Diameter 5mm × Leng..
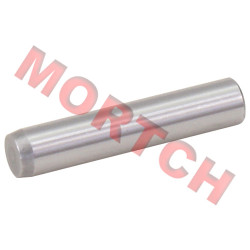
Breather Shaft
MICF0800-011202
CFMoto Breather ShaftPart Number: 0800-011202Product Type: Engine Breather System | Breather ShaftSp..
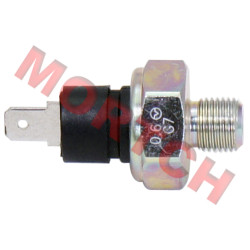
Oil Pressure Switch
MICF01A0-012200
CFMoto Oil Pressure Switch | Includes Linhai Cross-Reference Part Number: 01A0-012200 (Old) / 080..
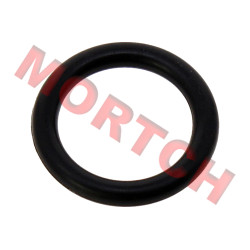
O-Ring 18x3.55 for Oil Dip Rod
MICF0110-013030
CFMoto Oil Dip Rod O-Ring 18x3.55. CF Moto listed parts number is 0110-013030 with old part number l..
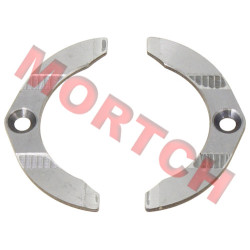
Crankcase Thrust Washer
MICF0800-011003
CFMoto Crankcase Thrust Washer Part Number: 0800-011003 Product Type: Thrust Washe..
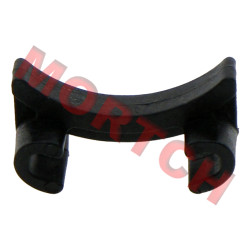
Timing Chain Lower Guide
MICF0800-011007
CFMoto Timing Chain Lower Guide OEM Part Number 0800-011007 Fits CFMoto 400cc / 500cc / 600cc ..
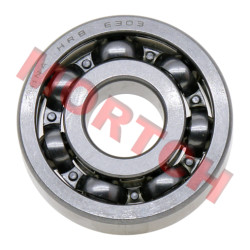
Bearing 6303 for Left Crankcase
MICF30400-01701
CF Moto Bearing 6303 for Left Crankcase OEM Part Number: 30400-01701 | Bearing Model: 6303 Dim..
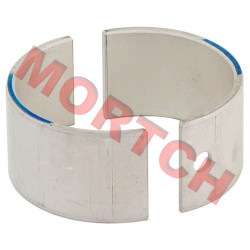
Bearing Sleeve, Blue
MICF0800-0111B0
CFMoto Bearing Sleeve (Blue) | w/ Linhai Cross-ReferenceWidth: 23mm | Select color based on crankcas..
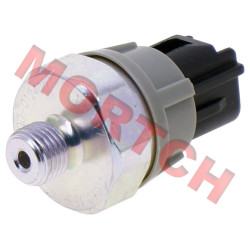
Oil Pressure Switch
MICF0800-012400
CFMoto Oil Pressure Switch New Part Number: 0800-012400 | Old Part Number: 01A0-012200 Thread ..
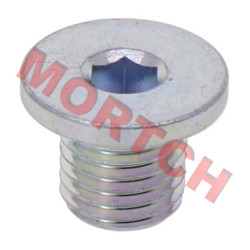
Drain Bolt
MICF0NYV-073001-3000
CF Moto Magnetic Drain Bolt Part Number: 0NYV-073001-3000 Product Type: Engine Lubrication Sys..
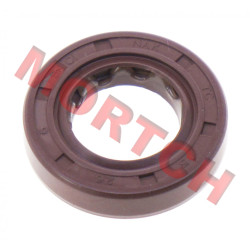
Oil Seal 15x26x6
MICF0800-011203-10000
CFMoto Oil Seal 15X26X6 Part Number: 0800-011203-10000 Product Type: Engine Seal |..
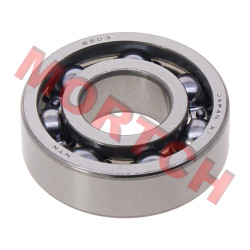
Bearing 6203 for Left Crankcase
MICF30400-01704
CF Moto Bearing 6203 OEM Part Number: 30400-01704 | Bearing Model: 6203 Dimensions..
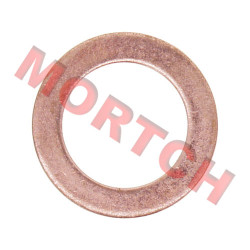
Gasket 14
MICF0180-011006
CFMoto Magnetic Drain Plug Washer 14mm Replaces OEM 0180-011006 | Linhai 35215 / 1BE-15107-00 ..
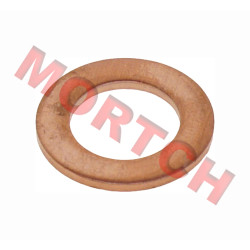
Drain Screw Plug Washer 12
MICF0010-021014
CFMoto Drain Screw Plug Washer 12mm Replaces OEM 0010-021014 Size: 12mm Washer Fits CFMoto ..

Oil Strainer
MICF0800-011009
CFMoto Oil StrainerPart Number: 0800-011009Product Type: Engine Lubrication System | Oil StrainerMat..
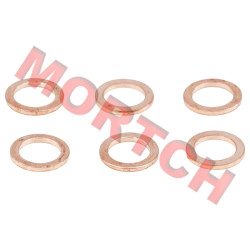
Washer 10
MICF0010-060010
🔧 CFMoto Washer 10📦 Part Number: 0010-060010⚙️ Washer · Flat Washer · OEM Spec📍 Installation Locatio..